How to Compress Images for the Web (Without Them Looking Bad)
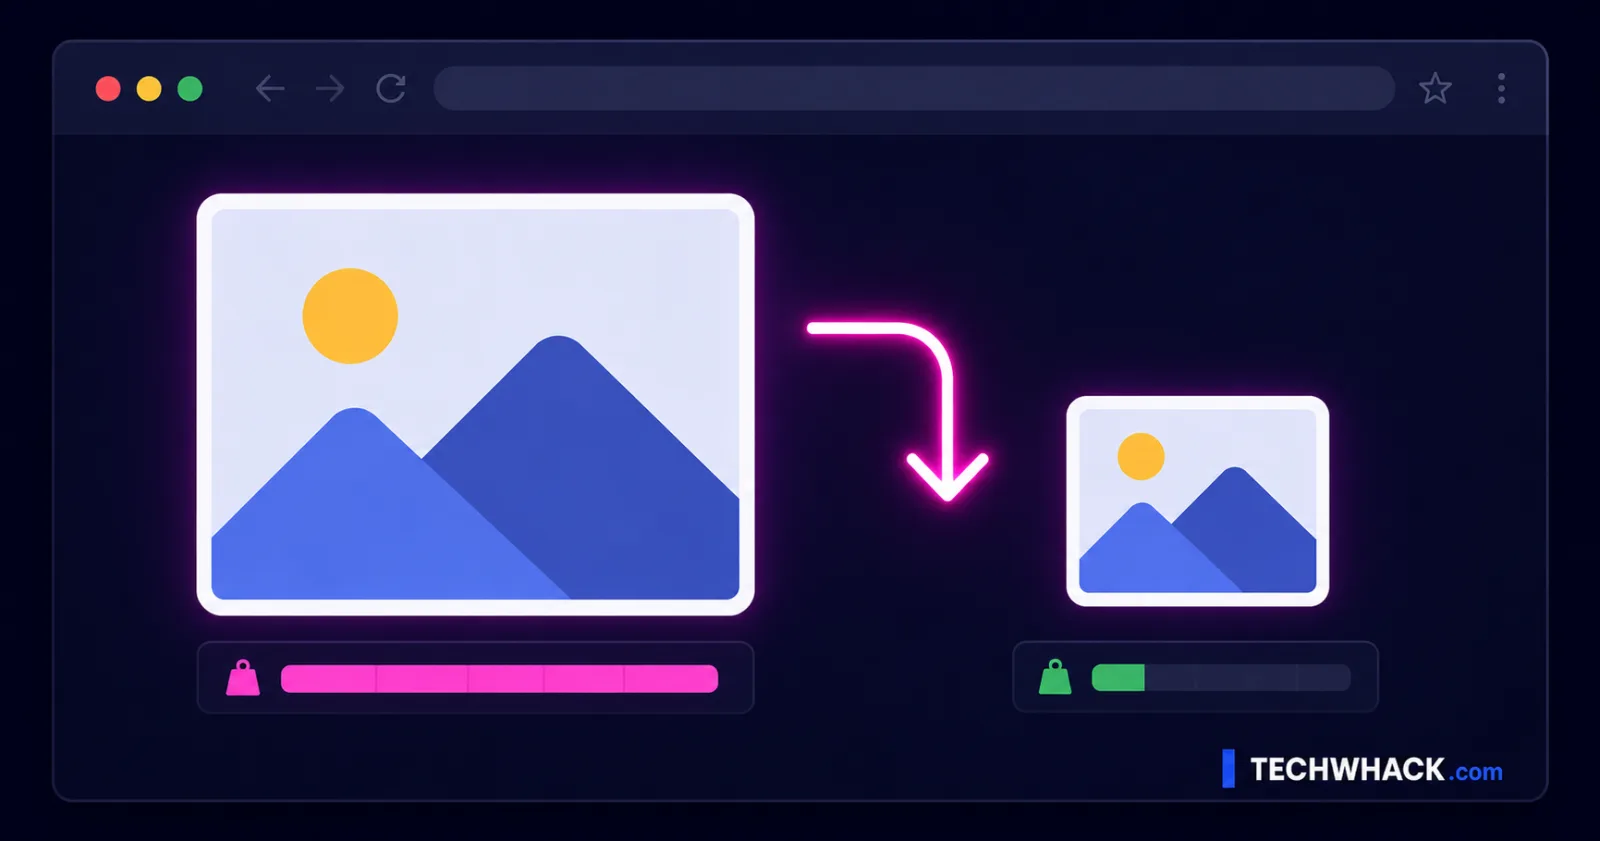
To compress an image for the web, drop it into the free Compress Image tool and either pick a preset — Smaller, Recommended, or Higher — or type a target like "under 200KB" and let it find the right setting. It runs in your browser, so the image is never uploaded, and you'll see exactly what you saved ("1.2 MB to 240 KB, 80% smaller"). Here's how to do it without the blur, and the one step most people skip.
On this page
Compress an image in three steps
- Open Compress Image and add one image (JPG, PNG, or WebP, up to 25 MB). It works on one image at a time, so for a folder, run them in a few passes.
- Choose how to compress:
- By quality — tap Smaller (squeeze hard), Recommended (the balanced default, start here), or Higher (gentlest, keeps the most detail).
- Target file size — type a ceiling like "under 200KB" and it works out the quality to land under it automatically, and tells you if the target isn't reachable.
- Download. You'll see a savings line showing the before-and-after size. If it can't make the file any smaller, it hands back your original unchanged rather than a pointless re-save.
It's free, no sign-up, no watermark, and nothing leaves your browser.
The step most people skip: shrink the dimensions first
Here's what actually controls an image's size, in order: pixel dimensions first, then quality, then format.
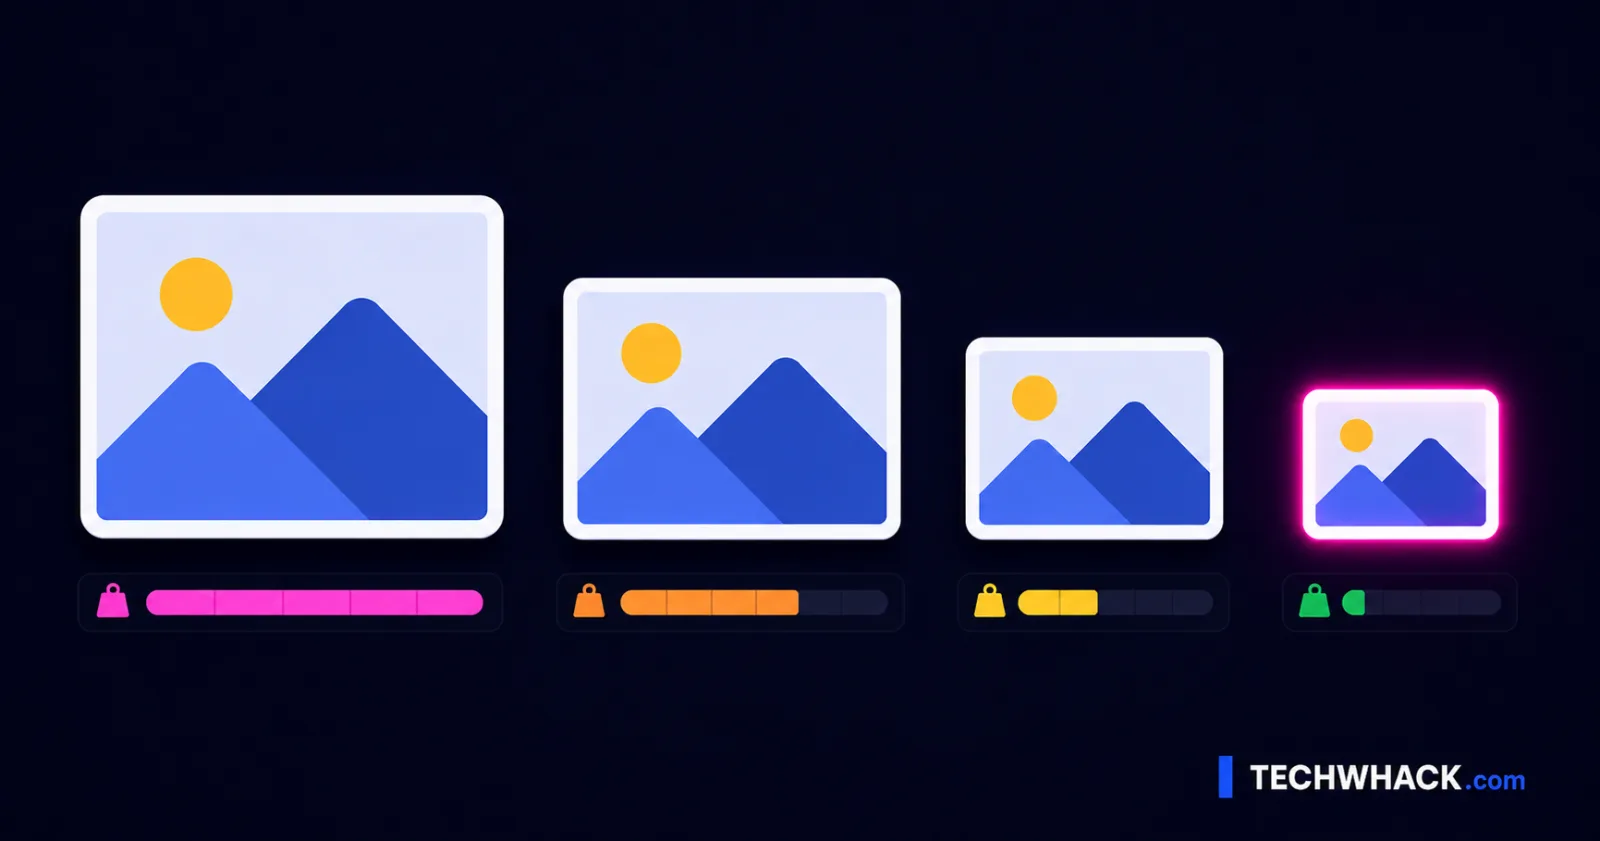
A photo straight off a phone can be 4000-6000 pixels wide. If it's only ever displayed at 1200px on your site, those extra pixels are pure dead weight, and no amount of quality compression fixes that as cleanly as just resizing does. People drag quality way down chasing a smaller file, get the blocky over-compressed look, and never realize the real problem was the image being four times bigger than it needed to be.
So: resize to the size it's actually shown at first (use the Resize Image tool), then compress. Get that order right and "smaller but still sharp" stops being a contradiction.
How to hit an exact file size
This is where the Target file size mode earns its keep. Instead of guessing which quality lands under an upload limit, type the number — "under 100KB," "under 200KB" — and the tool searches for the quality that gets under it, then tells you the result (or warns you if the target just isn't achievable for that image). No trial and error. If a target won't go, resize the dimensions down first to give it room.
What format you get (and why)
You don't pick a format here — the tool chooses the efficient one automatically: a JPG comes back as JPEG, and everything else comes back as WebP, which is typically 25-35% smaller than JPEG at the same quality and is supported by basically every current browser. That keeps things simple: add image, compress, get the lean version. If you specifically need to choose the output format (say, force PNG to keep transparency, or convert to a particular type), that's the separate Convert Image tool, and which format to pick is its own decision, covered in the companion guide, WebP vs JPG vs PNG vs AVIF.
(One side effect worth knowing: re-encoding drops the image's EXIF metadata, like camera model and location, which trims a little weight and is good for privacy. If stripping metadata is the actual goal, the dedicated EXIF Remover tool is the one to use.)
Why this is really an SEO job
Images are usually 50-80% of a page's total weight, and your largest image is almost always the Largest Contentful Paint element, the exact thing Google measures for Core Web Vitals. Resize and compress properly and you directly improve LCP, page speed, and a real ranking signal, while cutting mobile bandwidth and bounce. It's free performance with no downside when done right.
One habit that keeps quality high: always compress from the original, never re-compress an already-compressed file. Lossy loss stacks, and that's when you get visible artifacts.
"Why is my PNG so big?"
PNG is lossless — great for logos, screenshots, and sharp text, but heavy for photographs, because it never throws away detail. If your big file is a photo saved as PNG, that's the problem: compress it (it'll come back as efficient WebP) or convert it to JPEG/WebP. Keep PNG only when you genuinely need transparency or pixel-crisp text.
Compress image, reduce image size, optimize for web — same job
Whether you searched to compress an image, reduce image size, optimize images for the web, compress a JPEG or PNG, or shrink a photo, it's the same task and the Compress Image tool handles it, including on mobile: open it in your phone's browser, add a photo from your gallery, pick a preset or a target size, and save it back.